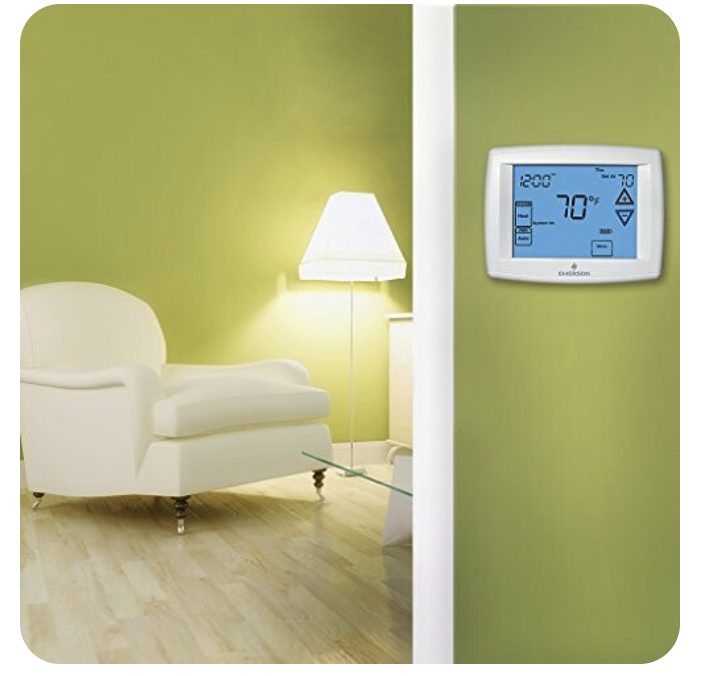
Smart Thermostats: Optimize Your Smart Home’s Energy Efficiency
Section 1: Understanding Smart Thermostat Features
1.1 Key Features to Look For
When selecting a smart thermostat, it’s important to understand the key features that can make a difference in your home’s comfort and energy usage:
• Learning Algorithms: The best smart thermostats learn your schedule and preferences over time, automatically adjusting temperatures to save energy when you’re away or asleep.
• Remote Access: Control your thermostat from anywhere using a smartphone app, allowing you to adjust settings while on the go.
• Energy Usage Reports: Detailed reports on your energy consumption can help you identify patterns and make informed decisions to reduce your bills.
• Geofencing: This feature uses your phone’s location to adjust the temperature when you leave or return home, ensuring comfort and efficiency.
• Compatibility with HVAC Systems: Ensure the smart thermostat you choose is compatible with your existing heating, ventilation, and air conditioning (HVAC) system, including multi-stage systems and heat pumps.
1.2 Popular Smart Thermostats on the Market
• Nest Learning Thermostat: Known for its advanced learning capabilities and sleek design, Nest is a top choice for many homeowners.
• Ecobee SmartThermostat: This model includes a built-in Alexa, room sensors, and robust energy-saving features.
• Honeywell Home T9: A great option with geofencing and smart room sensors for precise temperature control.
Section 2: DIY Installation Tips and Tricks
2.1 Preparing for Installation
Before you start, ensure you have the following tools:
• A screwdriver
• A voltage tester
• A level
• The thermostat’s installation guide
• Access to your Wi-Fi network and smartphone for setup
2.2 Step-by-Step Installation Guide
Step 1: Turn Off Power to Your HVAC System
Safety first! Locate your circuit breaker and turn off the power to your HVAC system to avoid any electrical hazards.
Step 2: Remove the Old Thermostat
Carefully remove the cover of your old thermostat and disconnect the wires. Take a picture of the wiring for reference, labeling each wire to match the terminals they were connected to.
Step 3: Install the New Thermostat Base
Mount the new thermostat base to the wall using the provided screws. Use a level to ensure it’s properly aligned. Then, connect the wires to the corresponding terminals on the new thermostat. Most smart thermostats include a wiring guide to assist you.
Step 4: Attach the Thermostat Display
Once the wiring is complete, snap the thermostat display onto the base. Restore power to your HVAC system and follow the on-screen instructions to complete the setup.
Step 5: Connect to Wi-Fi and Complete the Setup
Use the thermostat’s app to connect it to your Wi-Fi network. This step is crucial for enabling remote control and smart features like learning algorithms and geofencing.
2.3 Troubleshooting Common Issues
Thermostat Not Powering On:
If your thermostat doesn’t turn on after installation, check the wiring, especially the C-wire (common wire), which provides power to the device. If your system doesn’t have a C-wire, you may need to use a power extender kit provided by the thermostat manufacturer.
Wi-Fi Connectivity Problems:
Ensure your thermostat is within range of your Wi-Fi router. If you experience connection issues, try moving the router closer or using a Wi-Fi extender. Additionally, check that your router’s frequency (2.4 GHz or 5 GHz) is compatible with your thermostat.
Inaccurate Temperature Readings:
If your thermostat seems to be reading the temperature incorrectly, ensure it’s not installed near drafts, direct sunlight, or heat-producing appliances, which can affect its sensors.
Section 3: Maximizing the Efficiency of Your Smart Thermostat
3.1 Optimizing Temperature Schedules
Use your thermostat’s scheduling feature to set different temperatures for different times of the day. For example, lower the temperature while you’re asleep or at work to save energy, and program it to warm up or cool down before you wake up or return home.
3.2 Utilize Geofencing
Geofencing allows your thermostat to detect when you leave or approach home, automatically adjusting the temperature for maximum efficiency. Ensure your smartphone’s location services are enabled for this feature to work effectively.
3.3 Regularly Update Firmware
Manufacturers often release firmware updates that improve performance, add new features, or fix bugs. Regularly check for updates through the thermostat’s app to keep your device running smoothly.
3.4 Leverage Smart Home Integrations
Integrate your smart thermostat with other smart home devices, such as smart lights or security systems, to create automated routines. For instance, you could set your thermostat to adjust when you lock the doors or turn off the lights at night.
Conclusion
A smart thermostat is a valuable addition to any smart home, offering significant energy savings and convenience. By understanding its features, following DIY installation tips, and optimizing its settings, you can ensure your home stays comfortable while reducing your energy bills. Whether you’re tech-savvy or a beginner, these tips and tricks will help you get the most out of your smart thermostat.
